
Have you purchased some audio clips for your digital activities but are not sure how to add them to TpT’s Easel digital resources? Don’t worry – it’s straight forward to do and I’ve outlined the steps to take below.
How to Add Audio To Easel Activities
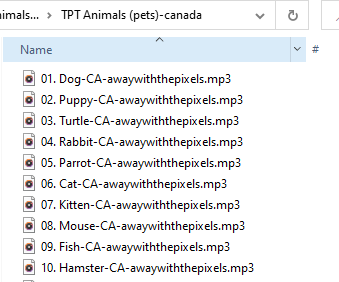
First, you will need to unzip the folder and save this to your computer. You will notice when you purchase a set of audio clips from Away With The Pixels, each word or phrase is labeled and saved in its own file:
When you are in TpT’s Easel platform and creating a resource, look for the audio button in the menu bar. Click on this and you will see you have two options, to record audio or upload audio files:
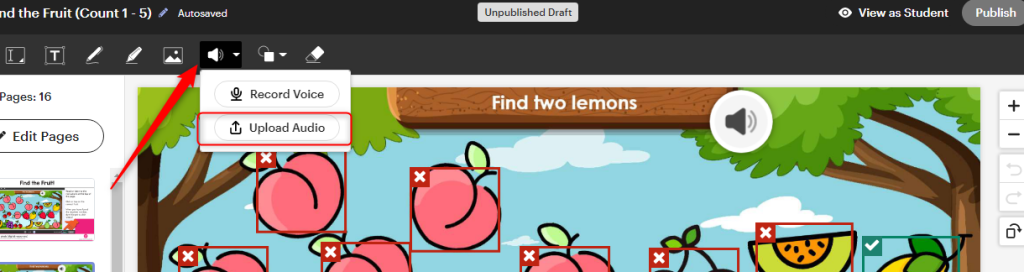
Select the ‘Upload Audio’ option and you will be prompted to navigate to the folder so you can choose the file you want to upload.
When the audio file is uploaded, you will see an audio icon appears at the top left of your page. You can now drag this into place.

But….
You can only add one file at the time (at the time of writing).
This makes adding a lot of audio cumbersome, however I have a work around which I use successfully.
I have created a master activity and I have added all my commonly used audio files onto this document. I then either add new pages to create the resource or upload a PDF to create the activity and quickly copy and paste the audio files onto pages as necessary.
It’s not perfect, but it does save time when using multiple audio files and I’ll update this document when this situation changes 🙂